Storage Manager View
The storage manager view is the view that enables the user to manage storages on different CMR repositories. By default the view is positioned at the left part of the inspectIT UI window. However, the user can freely re-position or close the view. To reopen the view again, please go to the Main Menu -> Window -> Show View -> Storage Manager.
By default the storage manager with show all available storages grouped by the CMR repositories that are located on. If no storage is existing on the repositories or all repositories are Offline the information: "No storage information available on the currently available CMR repositories." will be displayed. Beside remote stoarges that are located on the CMR, same can be downloaded or imported to the local machine. All storage that are locally available can be explored without connection to the CMR.
Storage functionality
More info about new storage functionality in general you can find on page Working with disk storage.
Repository management
Note that repository management is done in the Repository Manager View.
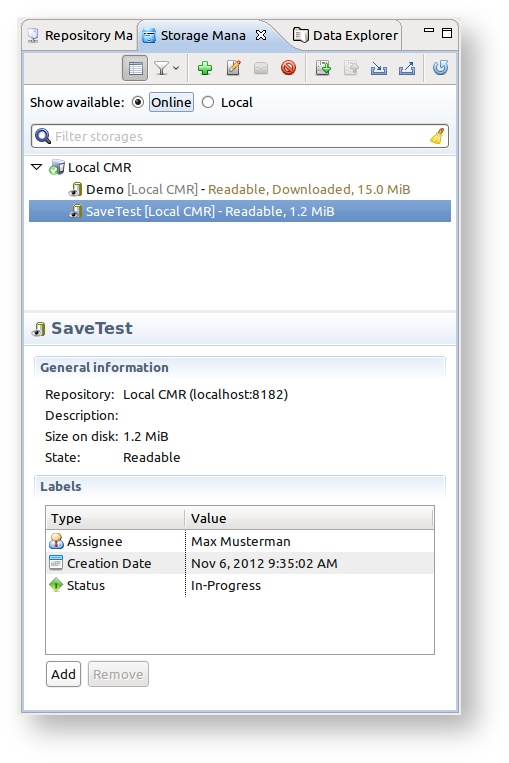
Remote Storages
Every available remote storage will be shown in the list with following data:
- Icon representing the storage state: Writable
 , Recording
  or Readable
- Storage ID (note that ID also defines the name of the sub-directory in the storage default directory where data related to the storage will be saved)
- Name of the storage
- Name of the repository ([Repository name]) storage is located on
- Storage state
- Size of the storage on disk in megabytes
Additionally more information about each storage is show in the properties panel on the bottom of the view. (properties panel can be turned off/on by clicking to the Show/Hide Properties  in the view menu)
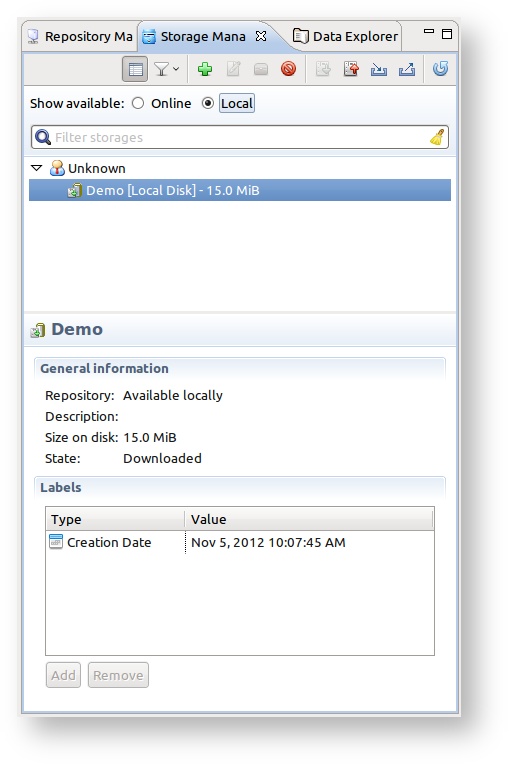
Local storages
Switching the Show available option in the top of the Storage Manager View to Local will display all downloaded storage that can be explored locally without need of active connection to the CMR. The properties displayed for local storages are same as for the remote ones.
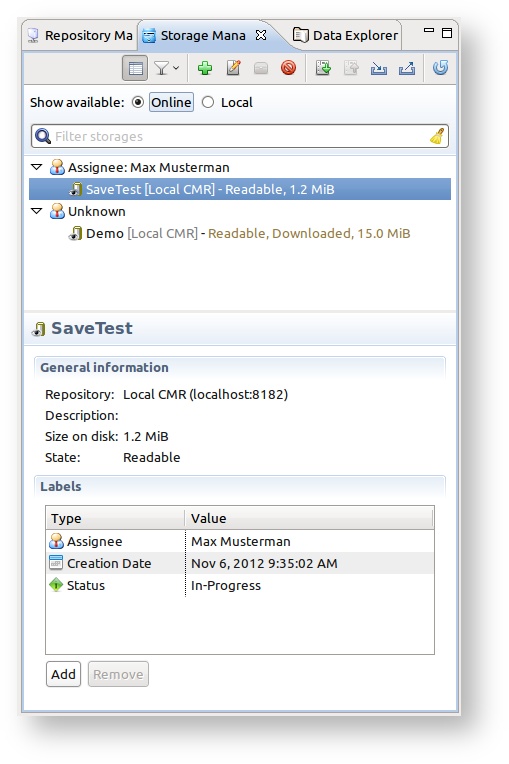
Grouping & filtering
Grouping and filtering of storages are done via Group and Filter  menu group or by entering text in the Filter storages
  box.
box.
Grouping of the storages can be done by:
- CMR Repository storage is located on
- Label values:
- Assignee
- Creation date
- Explored by
- Rating
- Status
- Use case
- Custom value
Additionally you can filter out storages by:
- CMR Repository storage is located on
- Storage state
- Text entered in the Filter storages box. Note that not only name of the storage will be search, but all the properties including the labels. Thus, using the functionality you can easily find any storage you want.
View data
Data in the storage can be explored by double-click on the wanted storage. This will directly open the Data Explorer View where all the monitoring data can be opened.
Storage actions
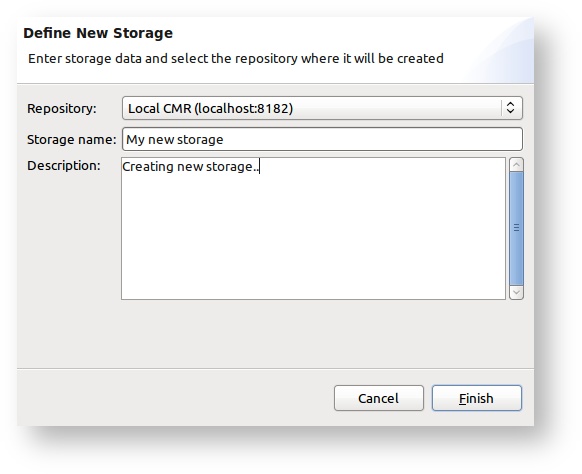
Create storage
New storage can be created by clicking on the Create Remote Storage  in the view menu. In the Create Storage Wizard you need to select a repository where storage will be create, define storage name and optionally description.
Finalize storage
Finalize Remote Storage  action means moving the storage state from Writable to Readable. After the storage has been finalized, no write is allowed to the storage. However, before storage is finalized data in the storage will not be able to be read. Storage that is currently used as recording storage can not be finalized before the record has ended.
Delete storage
Delete Remote Storage  action deletes all the data for selected storage on the CMR repository storage is located. Note that after this action no user will be able to explore content of the deleted storage. Because of this, in the deletion confirmation message the user can see which user were (and still could be) exploring the storage data. Note that only the storages with the Readable state can be deleted.
Add/remove labels
The properties panel of the storage manager view has option to assign labels to a storage. Storage can be "labeled" with different values (assignee, status, rating, use case,..) and labeling should enable easier organization and navigation. To add a label, you need to select the label type and value in the Add Storage Label Wizard (see screen shot below). In same wizard you can add many labels to one storage.
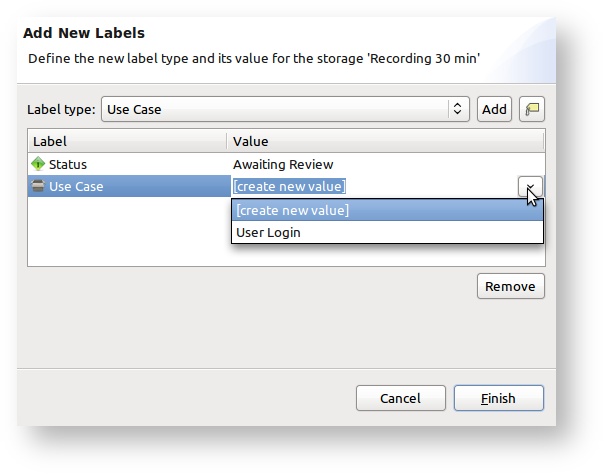
The labels can also be removed from a storage, by selecting the wanted label(s) in the table and clicking to Remove Selected link.
More about labeling storages functionality ca be read on page Storage labeling.
Download/Upload storage
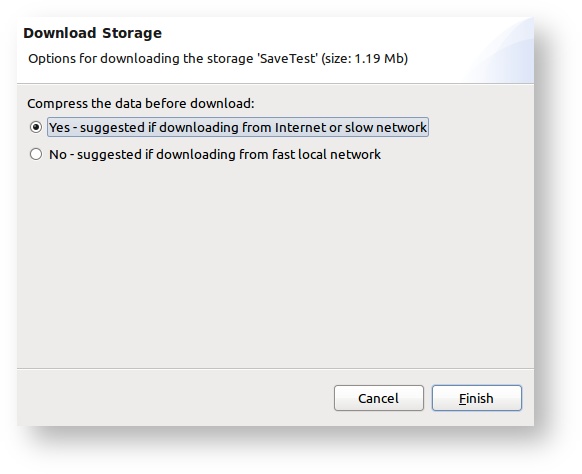
Each remote storage can be downloaded to local machine, so data can be viewed without active connection to the CMR. The download is executed by clicking on the  Fully Download Storage in the menu. The user will be prompted to select if data should be compressed before downloading or not. It is also possible to
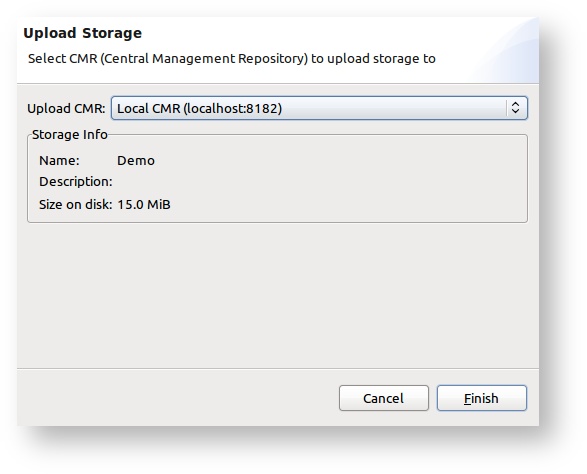
  Upload the local storage to the selected CMR. The downloading and uploading makes it easy to transfer the storages between different local machines and servers. For more info see Download - Upload storage page.
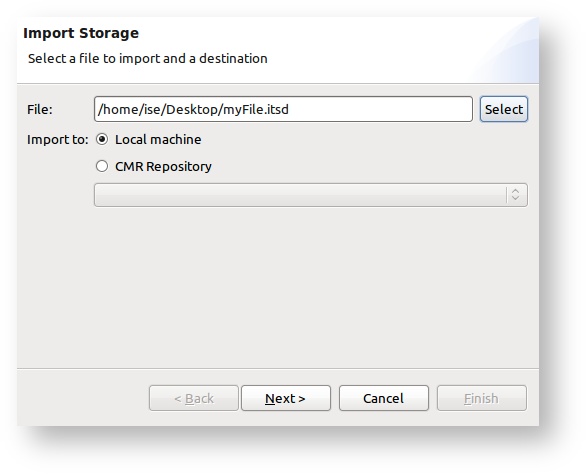
Export/Import storage
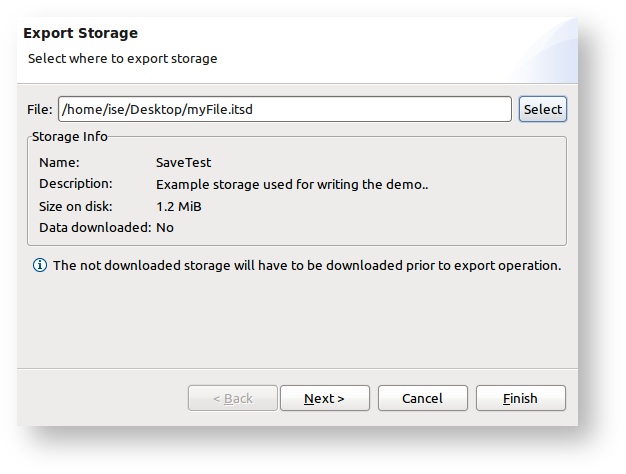
Any remote or local storage can be  exported to a single .itds (inspectIT Data Storage) file. Mentioned file can be later
  imported either to the local machine or the remote CMR. This makes it easy to share the storage via e-mail or attach it to the Jira ticket for example. For more info see Export - Import storage page.
Use right-click menu
Note that the rick-click menu provides all possible actions that can be executed on the storage.