Saving data to Storage
from version 1.5
All data contained in the repository buffer can be saved to Storage. Saving of the Invocation Sequences which was available prior to version 1.5 is described in the separate page. This page describes the process to save Timer, SQL, Exception or HTTP data to Storage.
Select wanted data
All the views displaying the data offer the Save on Server  option in the right-click menu.
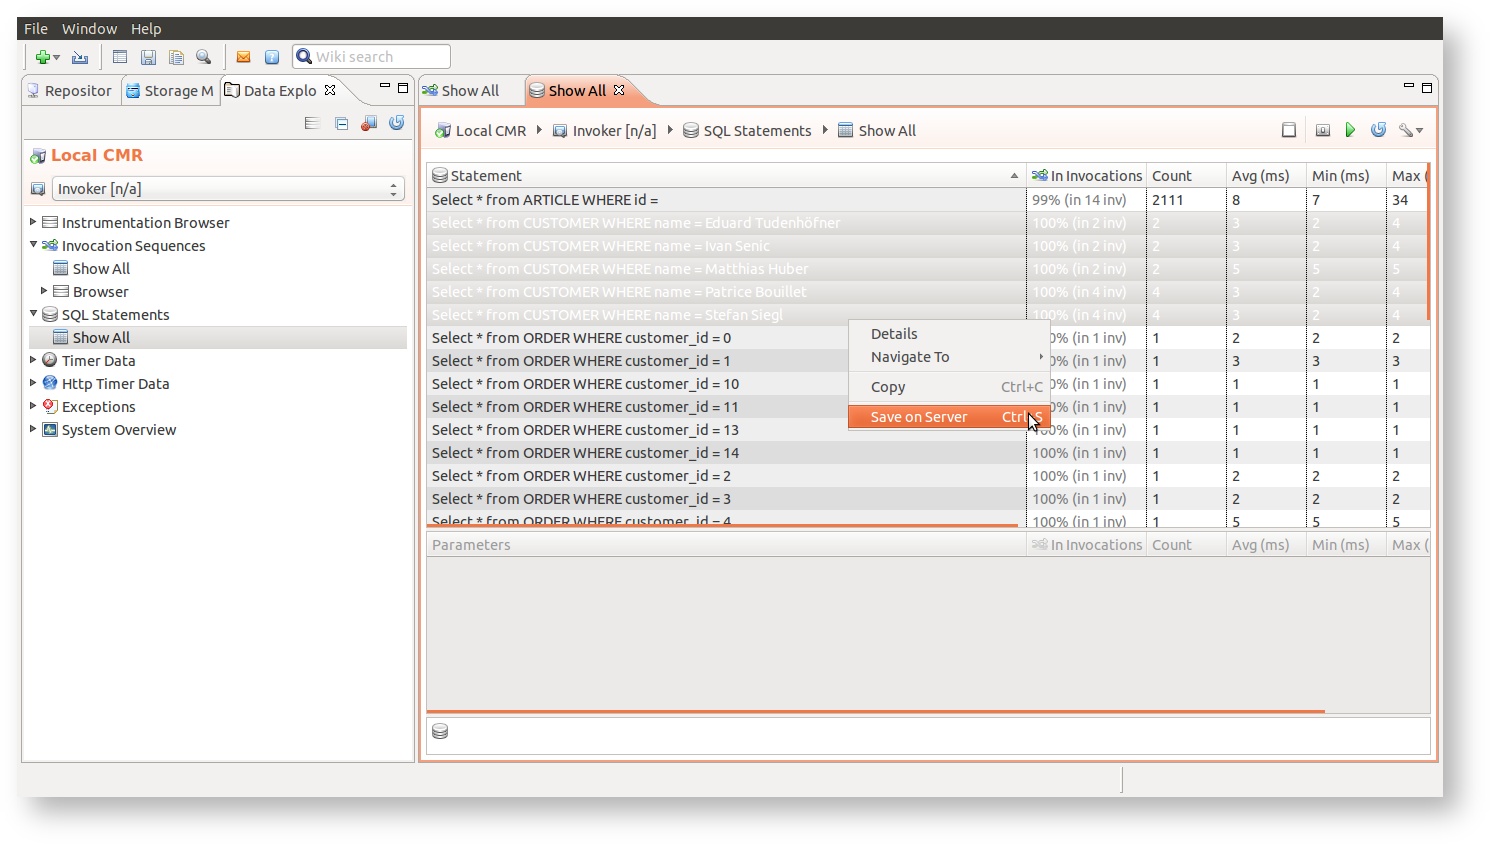
After selecting the Save on Server option the wizard will start helping you define where you want to save the data with possibility to specify some additional options.
Select storage
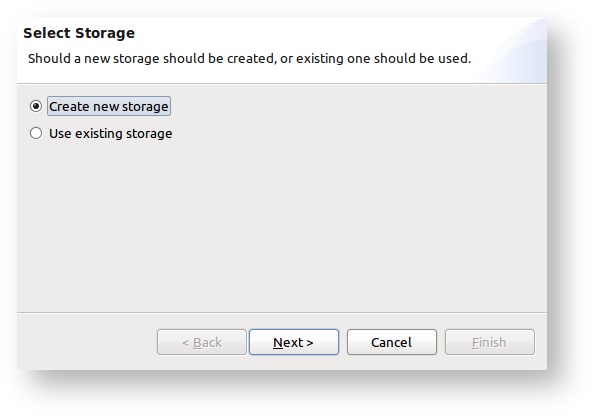
On the first wizard page the user can select the storage to save data to. New storage can be created for this purpose or an already existing storage can be selected.
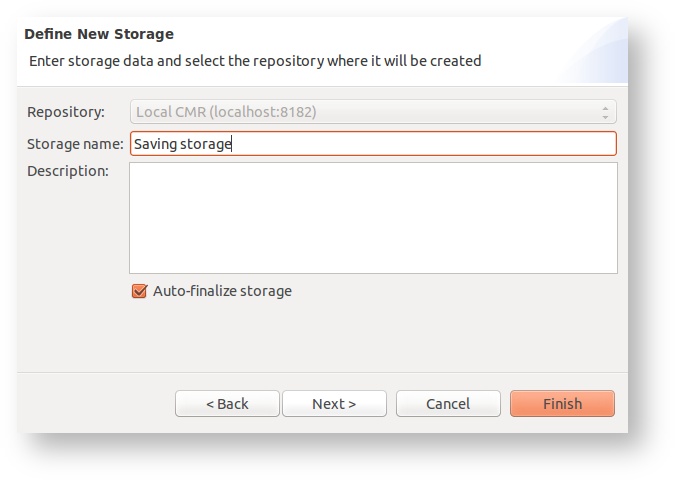
If the new storage should be created, the user is prompted to enter the storage name and optionally storage description.
On the other hand if Use existing storage is selected, one of the Storage that is currently in the Writable state has to be selected.
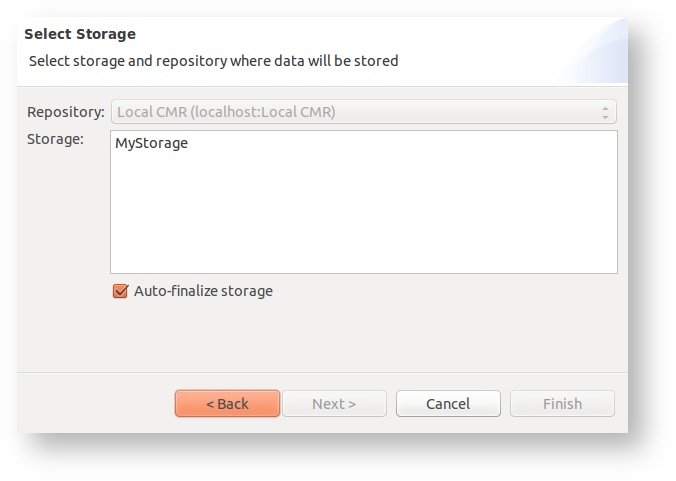
Auto-Finalize
If the Auto-Finalize option is selected, then the chosen Storage will be finalized upon the Save operation and will be readable immediately.
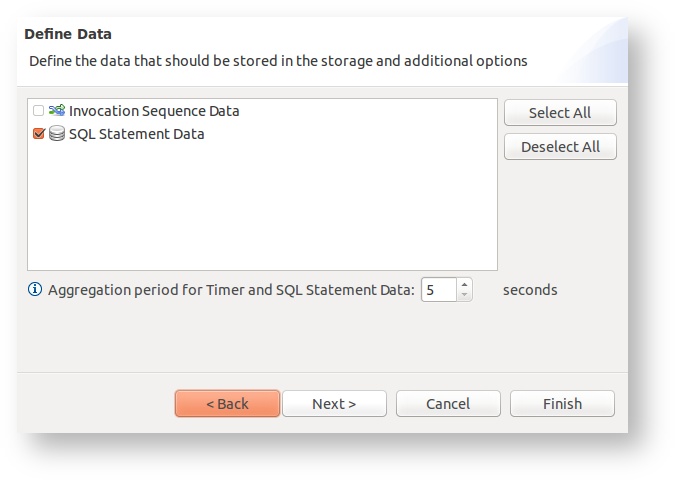
Define data saving options
The next wizard page is the place where user can define if beside selected data any additional data that relates the selected one should also be stored. In the screen shot below it displayed that when saving the SQL Statements, user can also chose to also save all the invocation sequences where those SQLs are called.
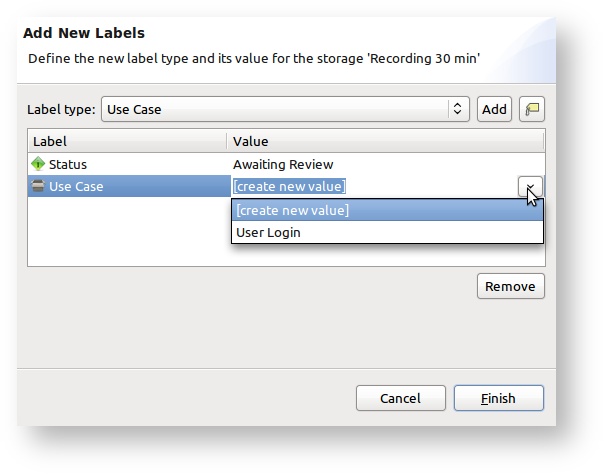
Add labels
On the last page the user can optionally add one or more labels to the storage that will be used for storing the data.