Recording
- Copy Space for Confluence
Recording enables to automatically store the data received by the CMR to a selected disk storage. The user can select the types of data to be persisted, way data will be persisted, agent that the data belongs to, etc. Repository Manager View enables user to Start Recording  or Stop Recording
  on the remote CMR repository. The start of the recording can be scheduled to start in future. In that case no additional recording is possible on the CMR until the scheduled recording is finished.
Data also available through in-memory buffer
Even if the recording is active, all the data received by the CMR will still be stored to the in-memory buffer (Working with the in-memory storage).
Start recording
To open the Start recording wizard select the CMR Repository where the recording should be done in the Repository Manager View and click on the Start Recording .
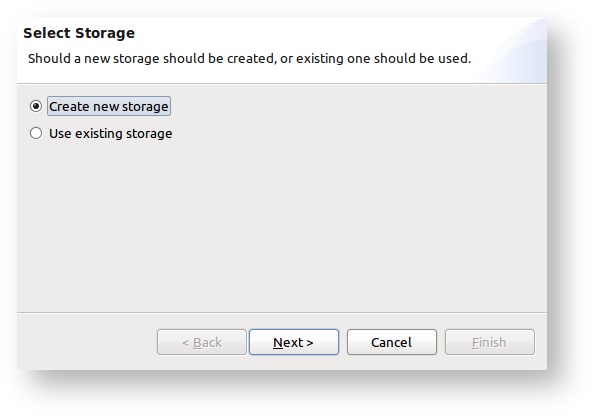
Select storage page
On the first wizard page the user can select the storage to save data to. New storage can be created for this purpose or an already existing storage can be selected.
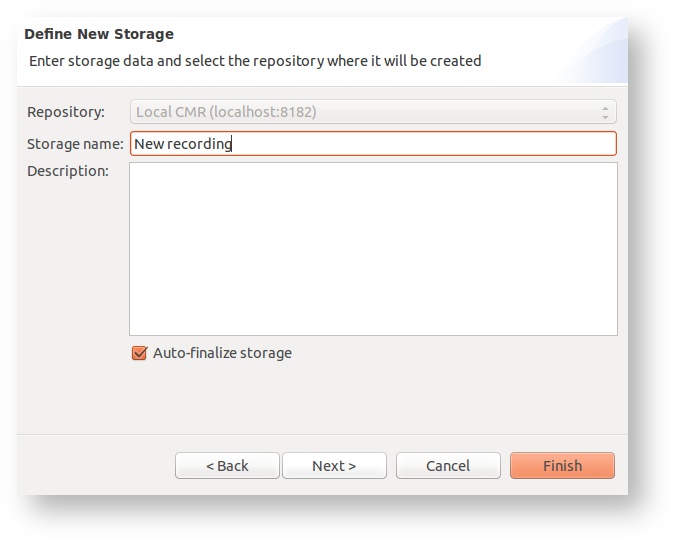
If the new storage should be created, the user is prompted to enter the storage name and optionally storage description.
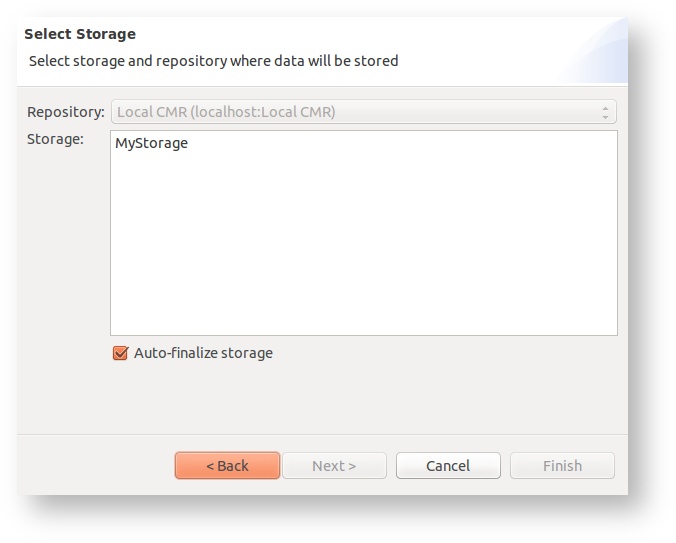
On the other hand if Use existing storage is selected, one of the Storage that is currently in the Writable state has to be selected.
Auto-Finalize
If the Auto-Finalize option is selected, then the chosen Storage will be automatically finalized when the recording stops and will be readable immediately.
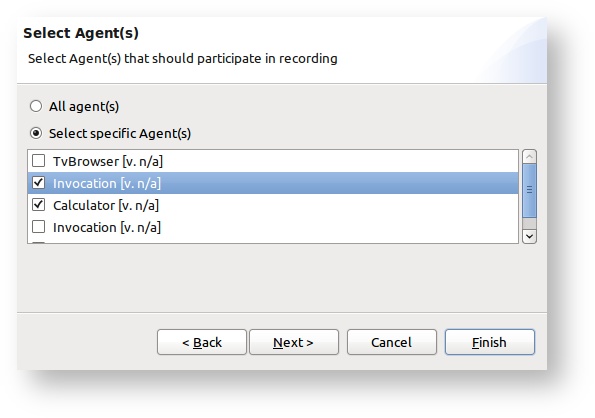
Agent(s) selection page
Since more than one Agent can be registered on the CMR repository, it is possible to limit the recording only to the data belonging to one or more agents.
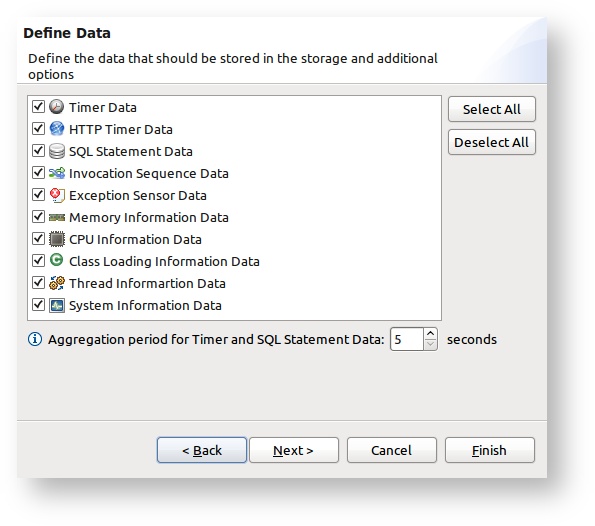
Data type selection page
Sometimes it is important to select only several types of monitoring data to be saved in the storage. The Data type selection page enables to select data types and also define additional options for the selected data types. Additional options are available for the following monitoring data types:
- Timer Data & SQL Statement Data - Timer Data and SQL Statement Data will always be aggregated before saved to the disk to avoid the overhead of data saving/loading. The amount of Timer Data and SQL Statement objects created during a simple load test can be very high and it is a necessity to aggregate them prior to saving. The user can define the aggregation period. This means that for the same objects, there will be only one object saved in the storage that keeps the aggregated information for a certain amount of time. Same object for the Timer data means objects for same method execution, and for SQL Statement data objects for same SQL string execution. Aggregation period must be defined.
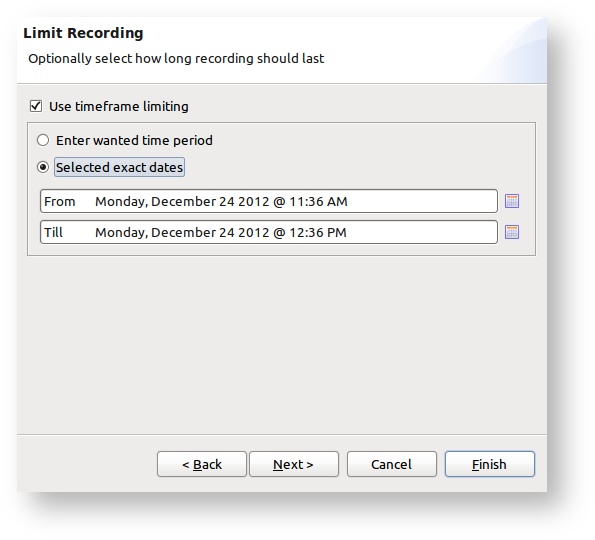
Time-frame limit
The next page in the Start Recording Wizard enables to optionally define how long the recording should last. This can be done either by entering the time amount in Jira style (for example 1h 2h 30m) or enter the exact date and time when the recording should start and stop. Note that this option enables you to schedule the start of the recording.

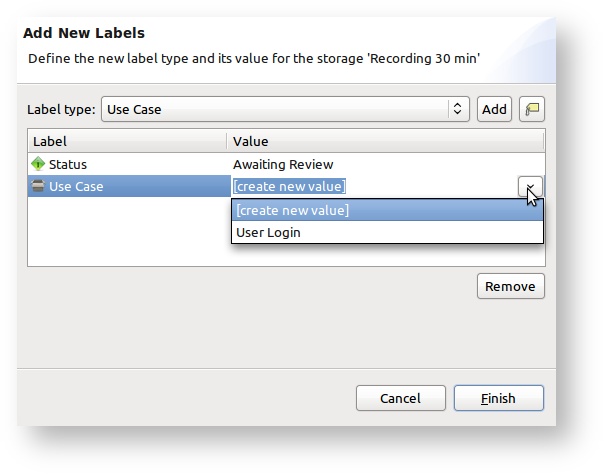
Add labels
On the last page of the Start Recording Wizard user can optionally add one or more labels to the storage that will be used for recording. In order to create a new label select "create new value" and click Enter. A new dialog will open in which you can enter the desired value.
Stop recording
If recording is limited by a time-frame, it will stop automatically when the recording time ends. Never the less, recording can anyway been stopped at any time manually. This can be done in the Repository Manager View with clicking on the Stop Recording . If the recording was scheduled and not started yet, then stopping will actually just remove the scheduled recording.