| Note |
|---|
Please note that the installers currently do not provide the monitoring components (longterm database and webbased user interface). |
The installer of the inspectIT is an all-component (Agent, CMR, inspectIT UI) installer which gives you all the needed components to run inspectIT successfully in you environment. It has many advantages compared to manual installation of the tool. One of them is the support of the Windows Service for CMR.
...
| Info |
|---|
java –jar inspectit.installer-all.linux.x64.jar or just double click the installer file |
...
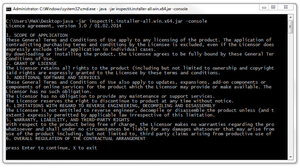
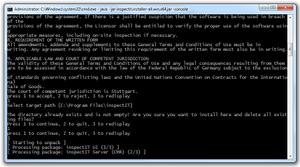
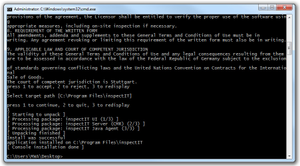
If the target system has no gui environment the installation process can be run in a console mode:
| Info |
|---|
java –jar inspectit.installer-all.windows.x64.jar -console |
Installation Guide
| Description | Screenshot | |
|---|---|---|
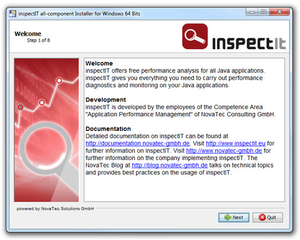
| Once you started the installer you will see the “Welcome” installation panel (Picture 1). This panel gives you small information about inspectIT and additional links to NovaTec Consulting GmbH websites. Here you can switch to the next panel by clicking the Next button. |
| |
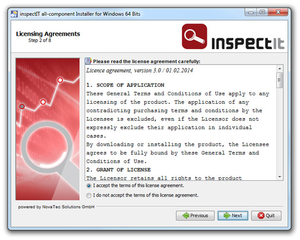
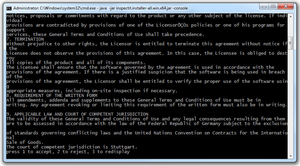
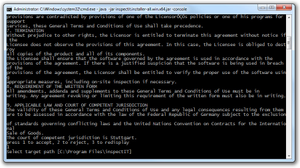
| In order to utilize inspectIT you have to accept the license agreements. But don’t worry you can use the intelligent analysis tool for free! To proceed you just have to switch on the “I accept the terms of this license agreement.” radio button like on the picture and operate the Next button to move forward. The console installation doesn't contain the welcome panel and jumps immediately to the license agreements. In the headless mode you get the installation instructions at the bottom of the console. Use them to navigate the installation process. |
| |
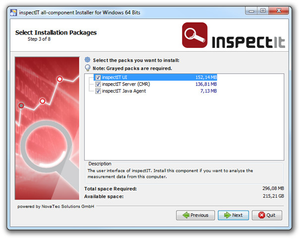
On the third installation panel you can choose packages which should be considered by the inspectIT installer. In the picture 3 you have the opportunity to select the following components: inspectIT UI, inspectIT Server (CMR), inspectIT Java agent. More information on each inspectIT component you can find here. By clicking the Next button you will get to the next wizard page.
In the console installation mode you don't have the ability to select the installation packages. All available packages will be installed. |
| |
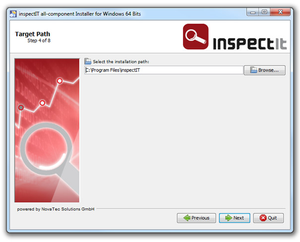
| Target Path installation panel gives you the ability to change the default installation path for the inspectIT components. If you don’t agree with the preset you can easily change the path by operating the “Browse” button. After setting the desired installation path you move to the next panel by using the Next button. Like in the Target Path installation panel you will be asked in the console installation mode about the installation path. Enter your desired installation location or accept the preset by hitting the Enter button. |
|
The step 5 informs you about the whole installation process. There is actually except clicking the Next button to proceed no user interaction needed on that panel. |
|
“Setup Shortcuts” wizard page gives you the opportunity to modify the shortcut setup and predefined installation group. The default installation group for inspectIT components is “inspectIT” which you can find in the Windows Start Menu and in GNU/Linux application menu. On that panel you have also the ability to create the desktop shortcuts for fast access. And like always to continue the installation process use the Next button. | 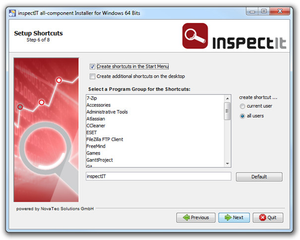 |
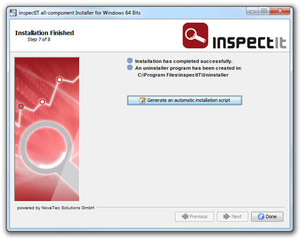
The picture 7 shows you the last installation panel and informs you about the installation status. In the screen you can see the last wizard page with a message about a successful installation. The option to “Generate an automatic installation script” allows you to export your choices to a general file and use it for future automated installation of the inspectIT analysis tool. Now, you are done with the installation. Happy analyzing and improving your performance wishes you NovaTec Consulting GmbH. |
|

Post installation – utilization
...
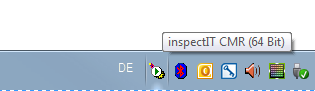
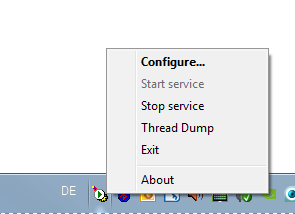
Monitor CMR (Service) gives you the opportunity to control the CMR Windows Service from the taskbar. You can start and stop CMR Service easily by clicking corresponding option. Also you will be able to get to Configure menu to adjust settings.
Uninstaller
Uninstaller makes possible to remove the whole application without messing things up. You can reach the uninstaller in the Start Menu or in the installation path in the directory Uninstaller. The picture is showing the uninstallation dialog with an option to remove all the files from the installation path. Without setting this option Uninstaller will remove only the menu and desktop shortcuts and also uninstallation of the CMR Windows Service will be accomplished. This option is useful if you want to save important inspectIT setting or log files. By hitting the checkbox everything will be removed. This includes also the deletion of files the installation path.
...